Welcome to our Structures Gallery page
Below you will find a few of our Structures projects completed in detail with photo galleries. We hope you enjoy them and we look forward to hearing from you.
Custom Workshop
A returning client had a hand drawn sketch of a dream. We commissioned some engineered drawings and turned the dream project into reality. Once approved, we excavated for the engineered slab on grade. Framed the structure and installed a brick veneer finish. It is a nice heated woodworking shop for all year use.
Here are some of the details on this project
- Meet with the client to gather the required information and to have a look at the proposed location
- Send off drawings to Structural Engineer to have permit plans completed
- Once approved have locates completed prior to excavation. Order trusses
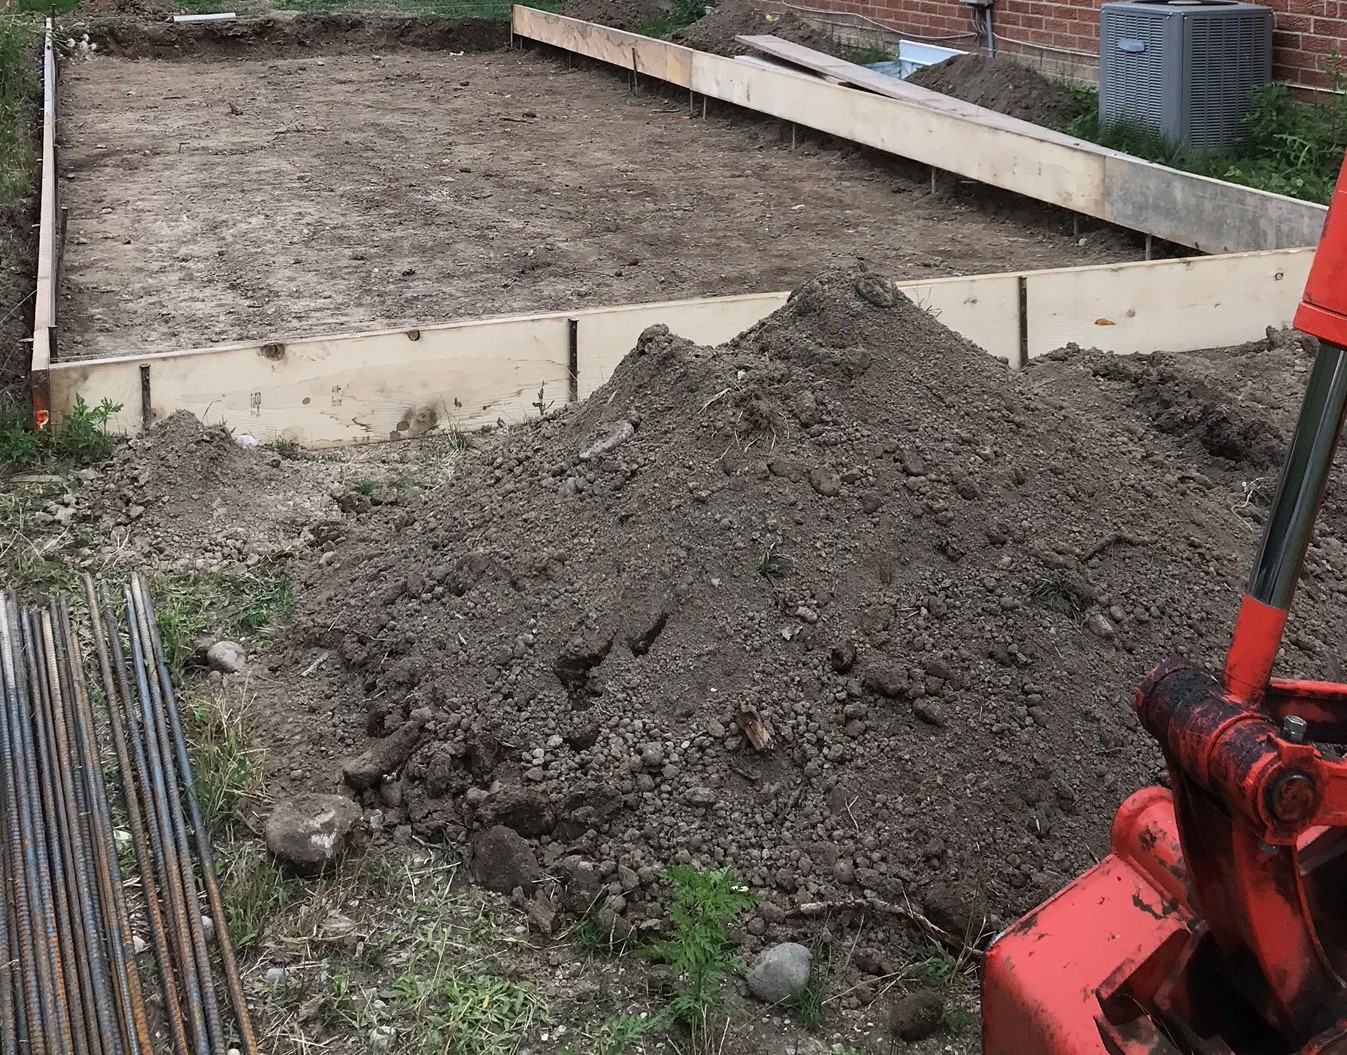
- Excavate location of engineered slab on grade
- Backfill with gravel and compact
- Install all rebar and wire mesh as per plans
- Pour concrete with pumper truck due to septic system
- Install J-bolts into concrete and finish concrete
- Saw cut the slab within 24 hours as per Engineer. We asked the client to water the pad everyday 2 times a day for 28 days to prevent the concrete from curing to fast
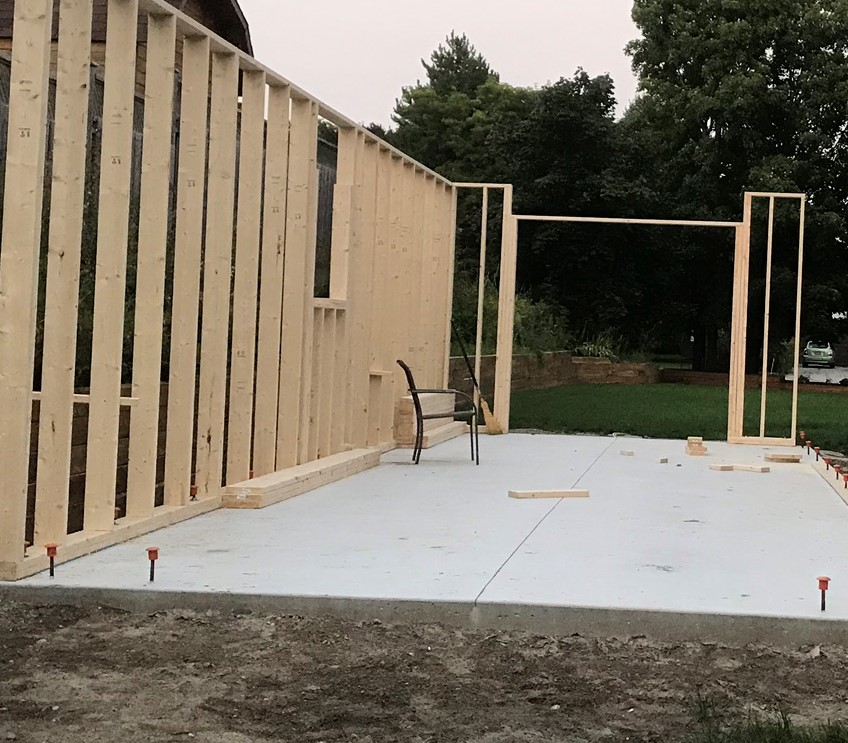
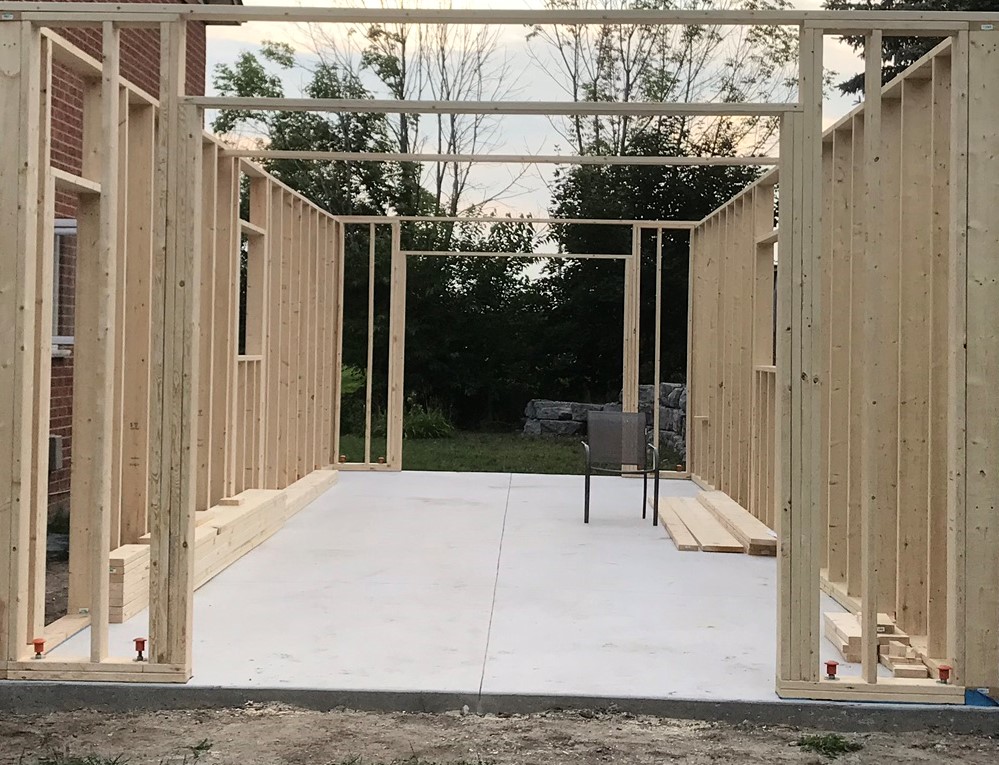
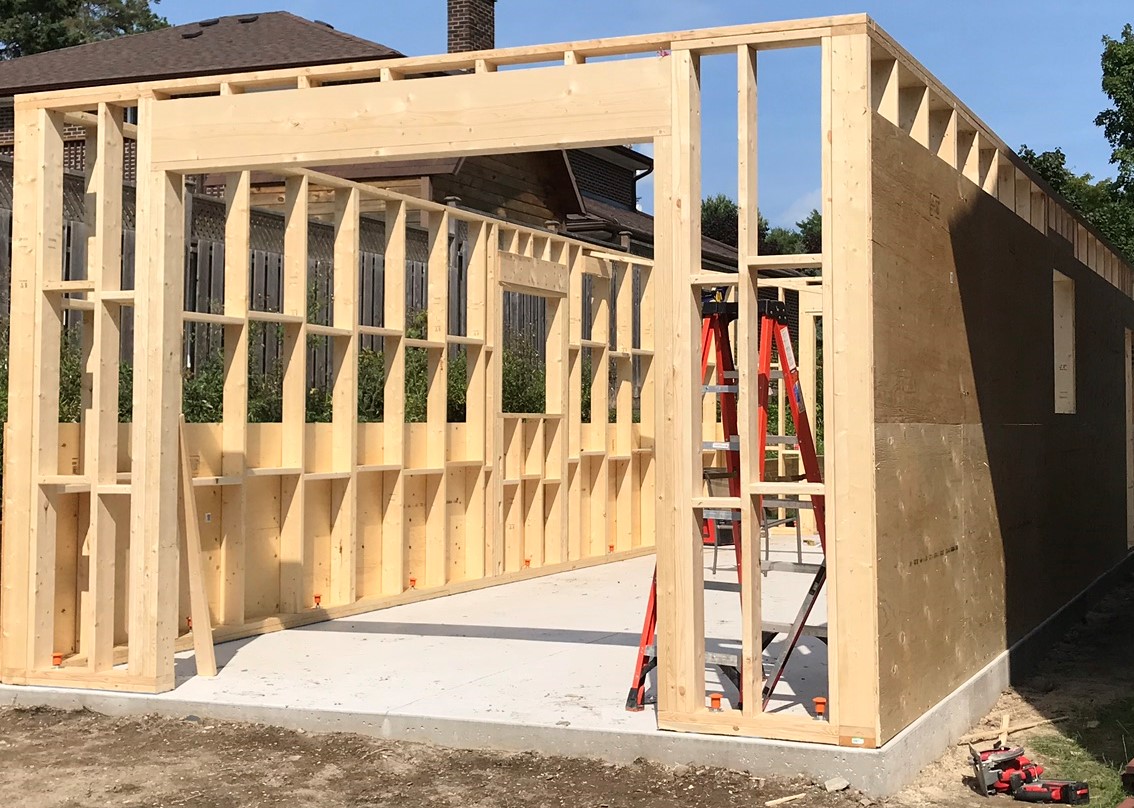
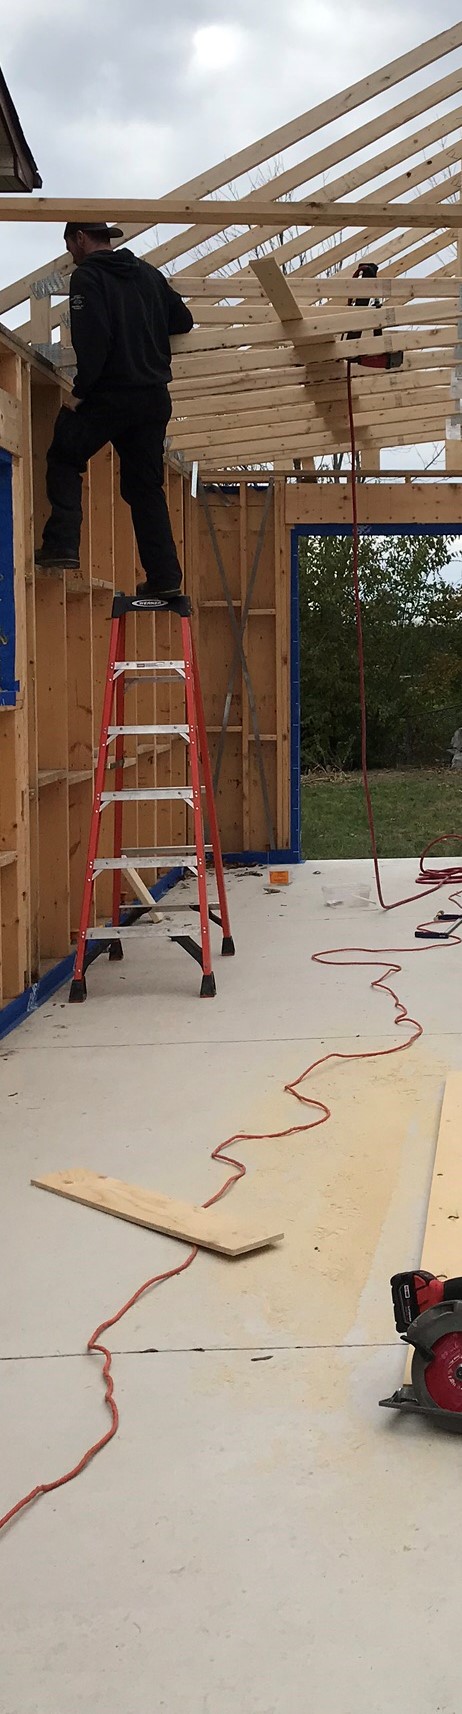
- Frame all walls with 2×6. Wrap the sill plates in Blueskin© to prevent premature rot
- Sheath all walls and add metal bracing on short walls for shear strength
- Install windows and man door
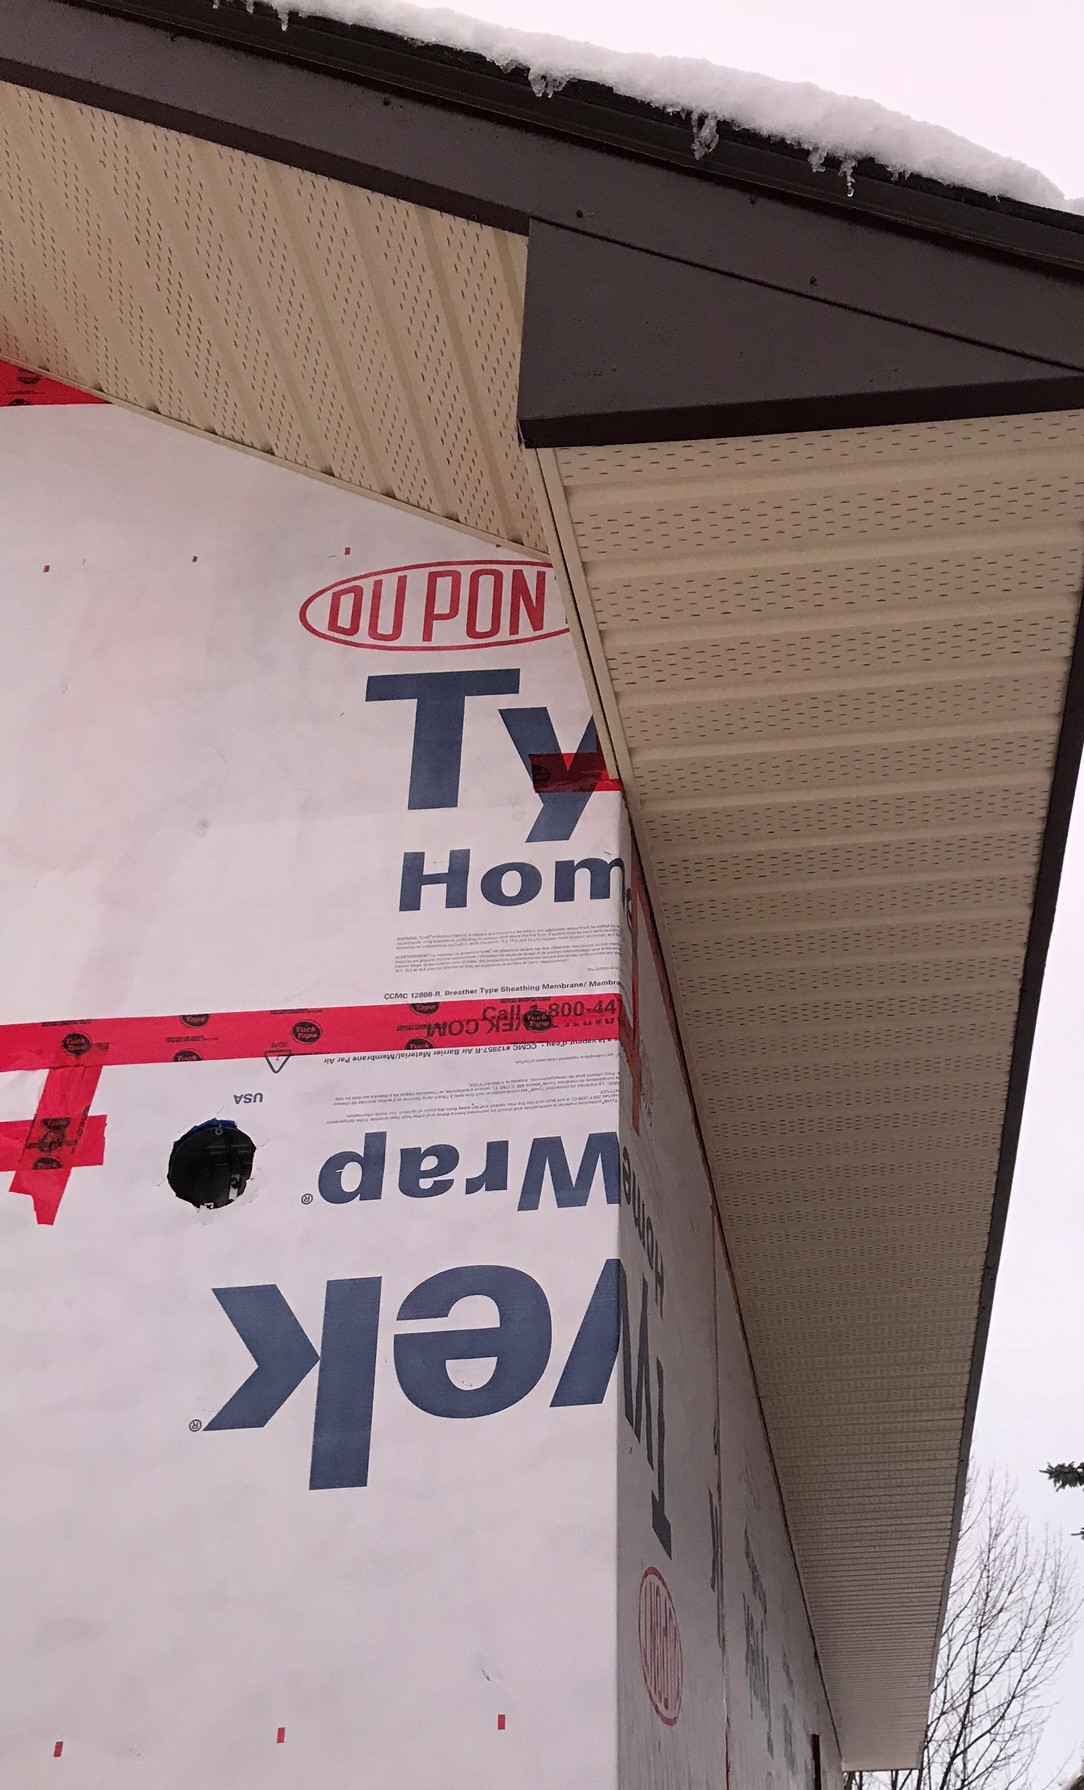
- Blueskin© all sheathing
- Install the trusses once received
- Install sheathing on trusses. Prior to shingling we installed waterproofing on the entire roof and 3′ of ice guard around the perimeter
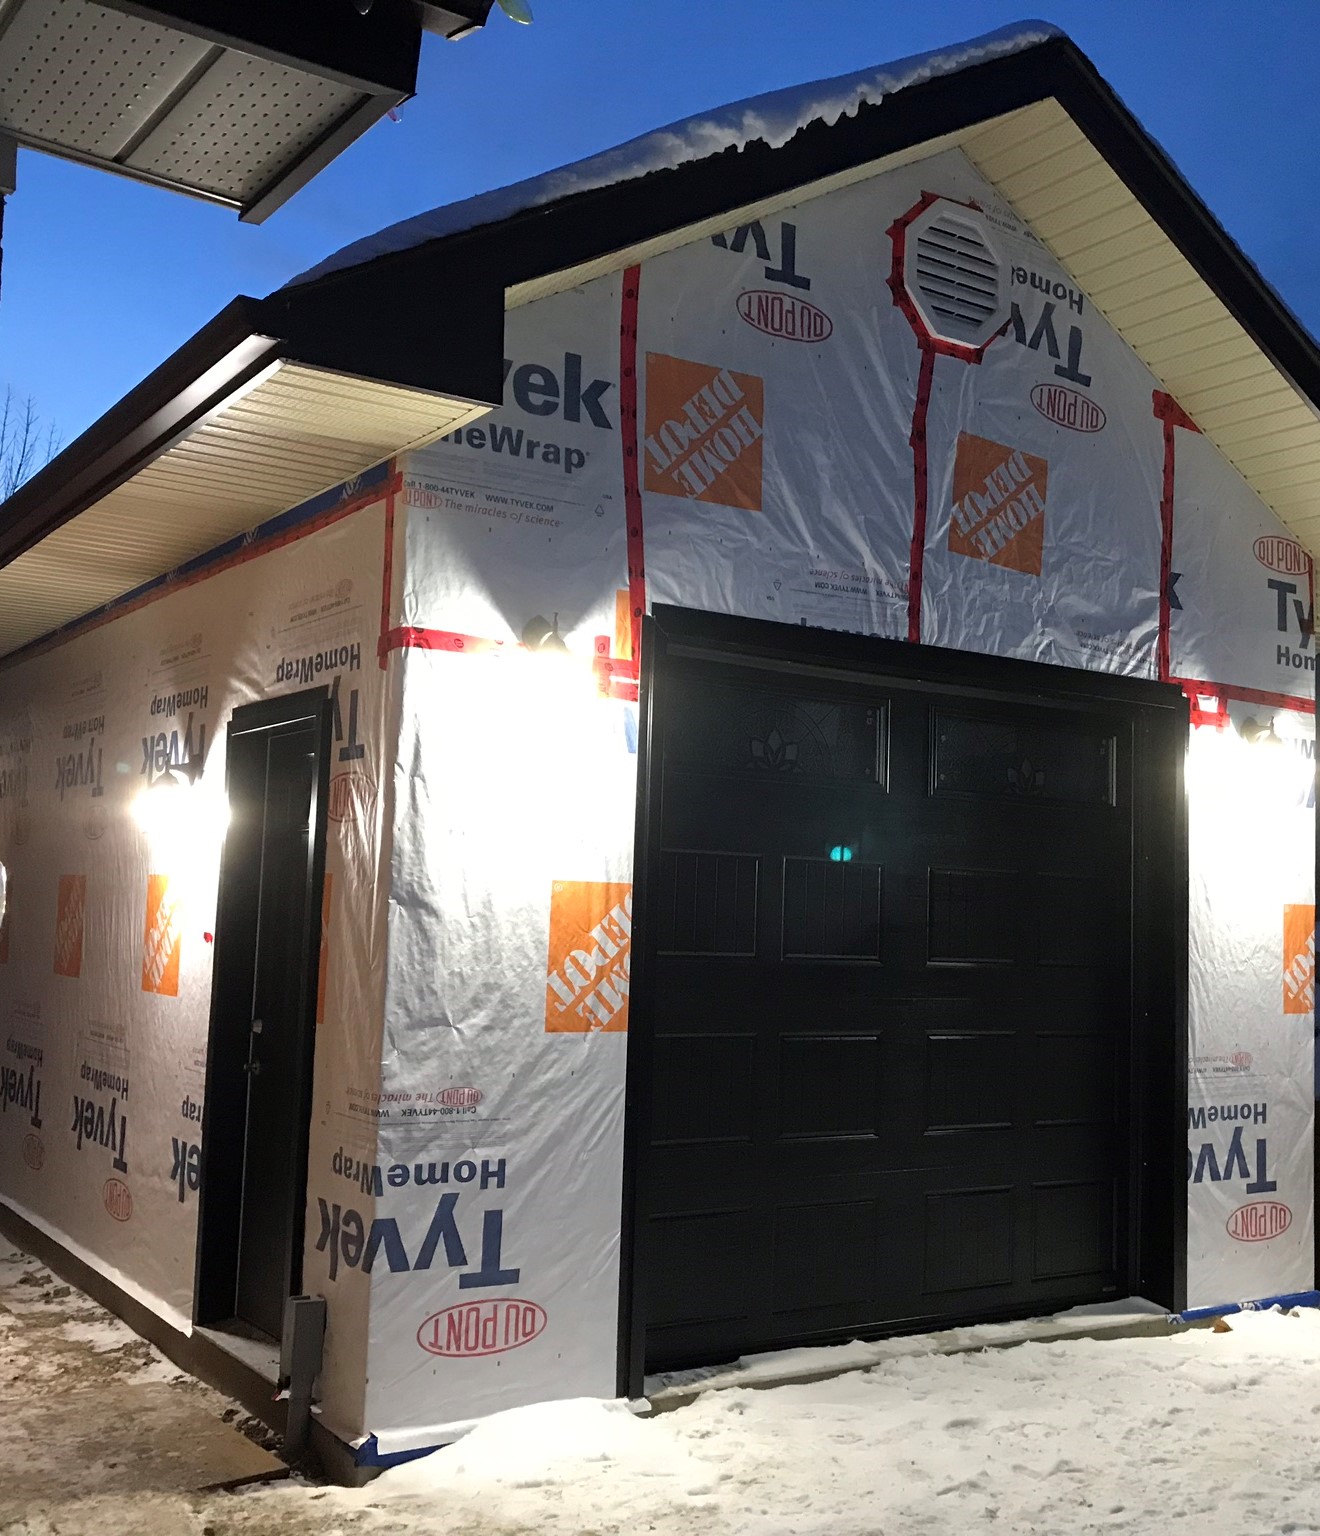
- Brand new Garaga© doors installed front and back
- Put an additional layer of house wrap over the Blueskin© for added protection
- Our Electrician came in and ran a new 100 amp panel into the workshop from the house and power provisions as specified by the client
- Insulate walls with Rockwool©. Install vapour barrier on all walls and ceiling
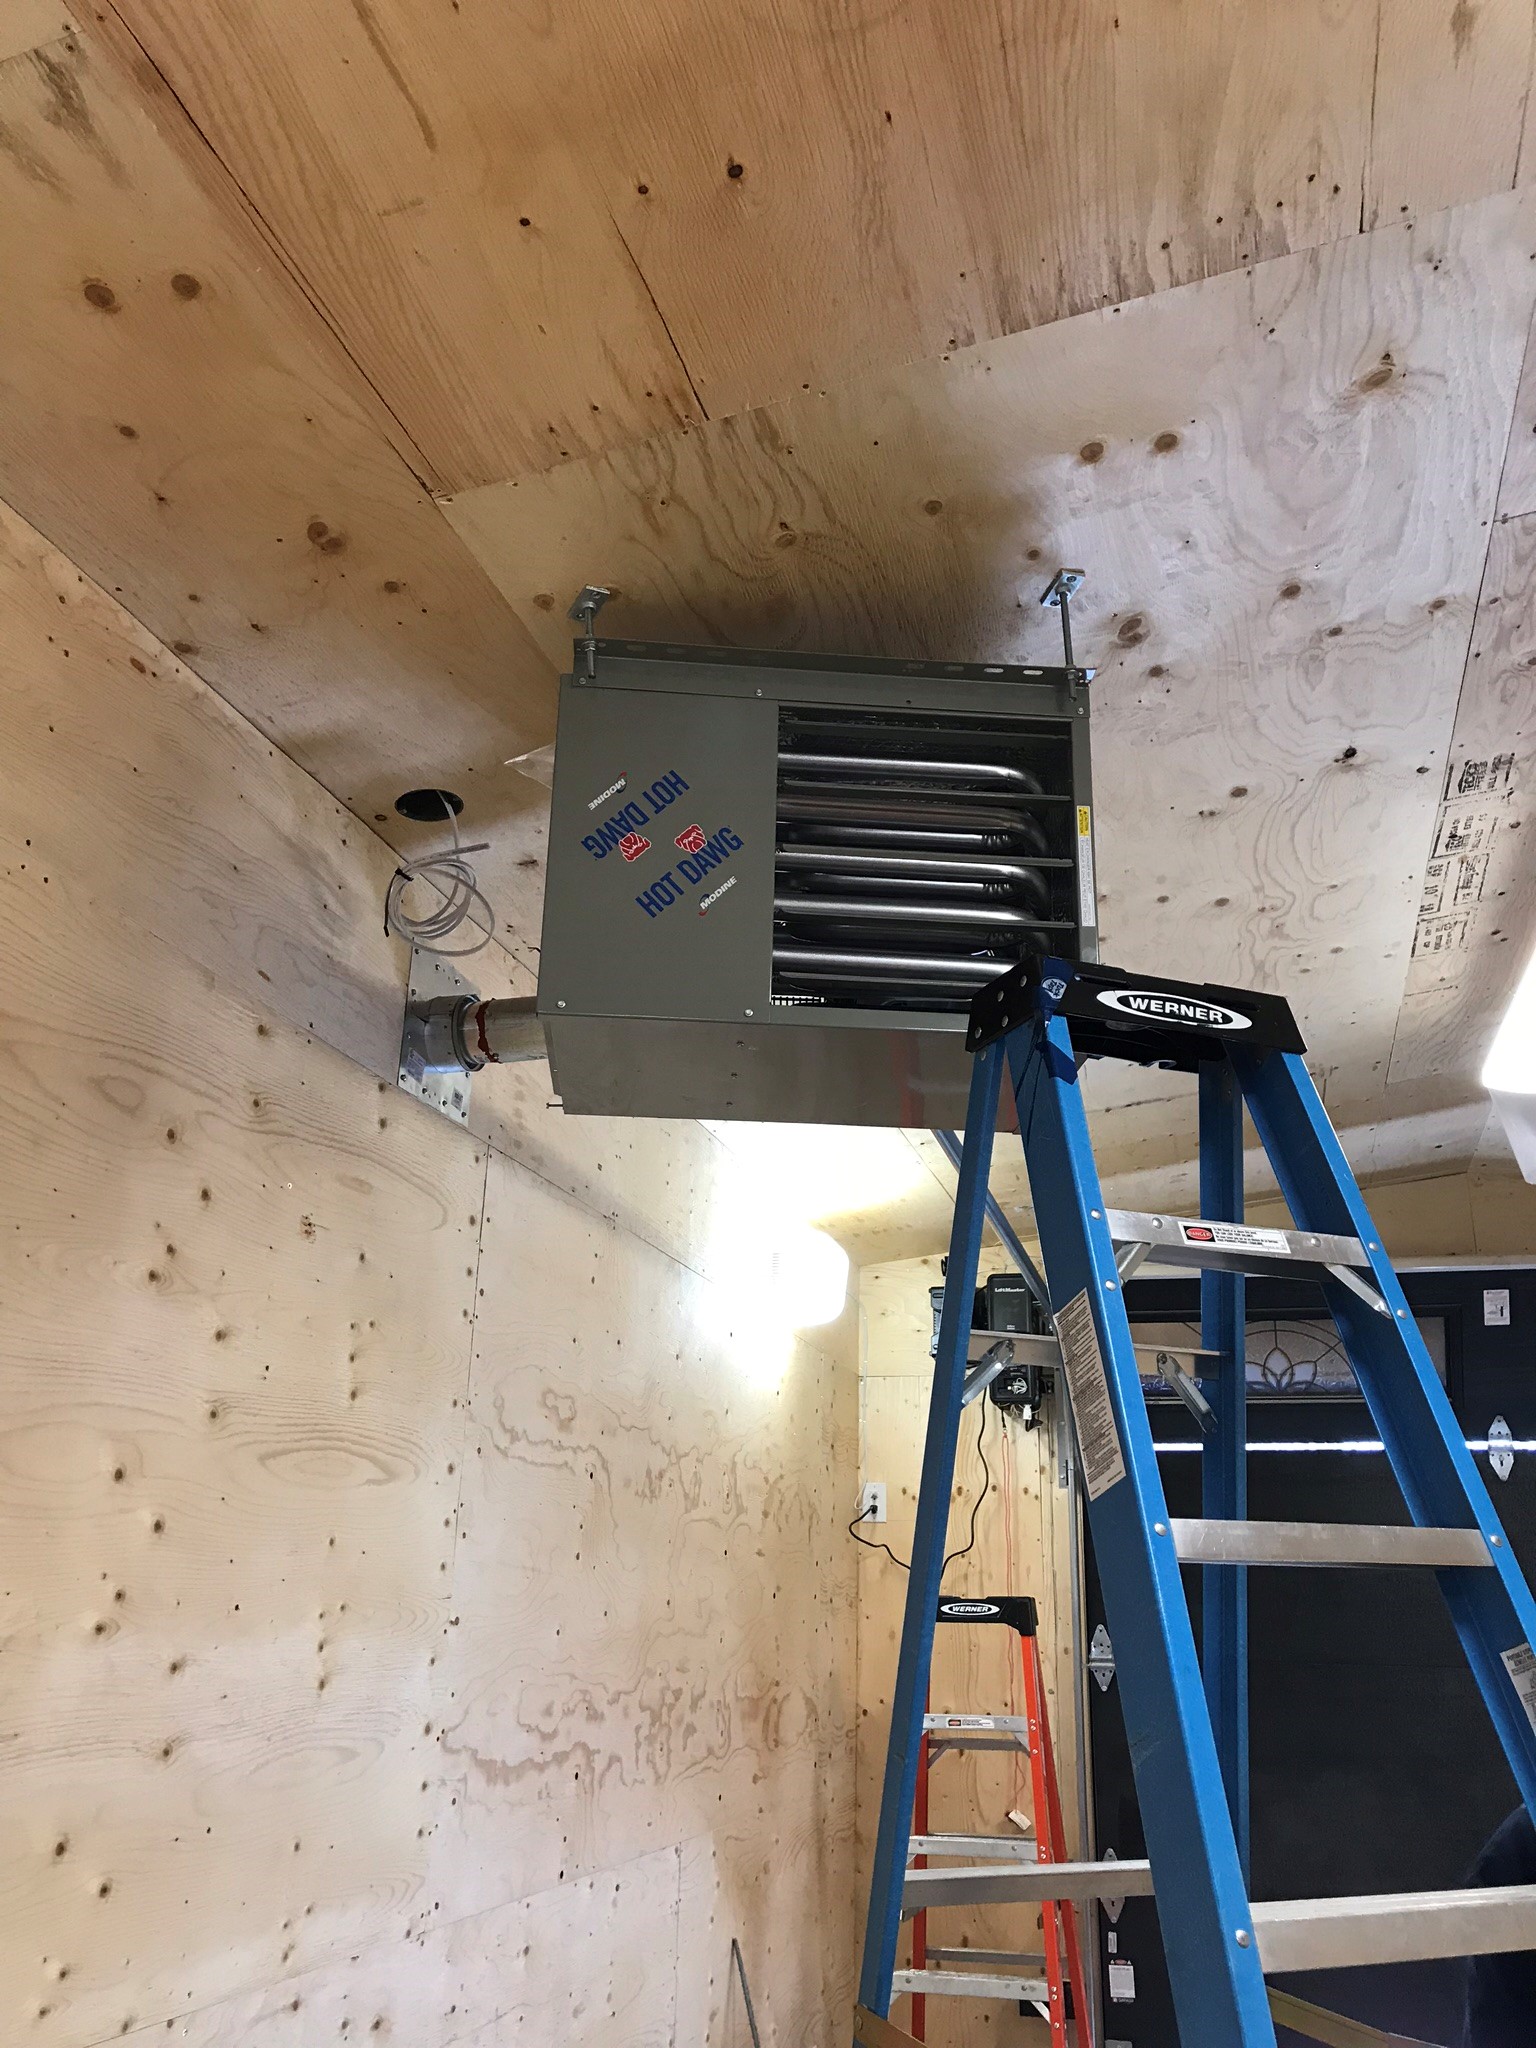
- Sheath the ceiling and walls with 3/4 plywood as per client. Insulate ceiling with Rockwool© to R70
- Install soffits, fascia, eavestrough and downspouts
- Our Gas technician supplied and installed the heater for this shop.
- We had to come back in late spring/early summer to install the thin brick veneer chosen by the client as cold and mortar don’t mix well


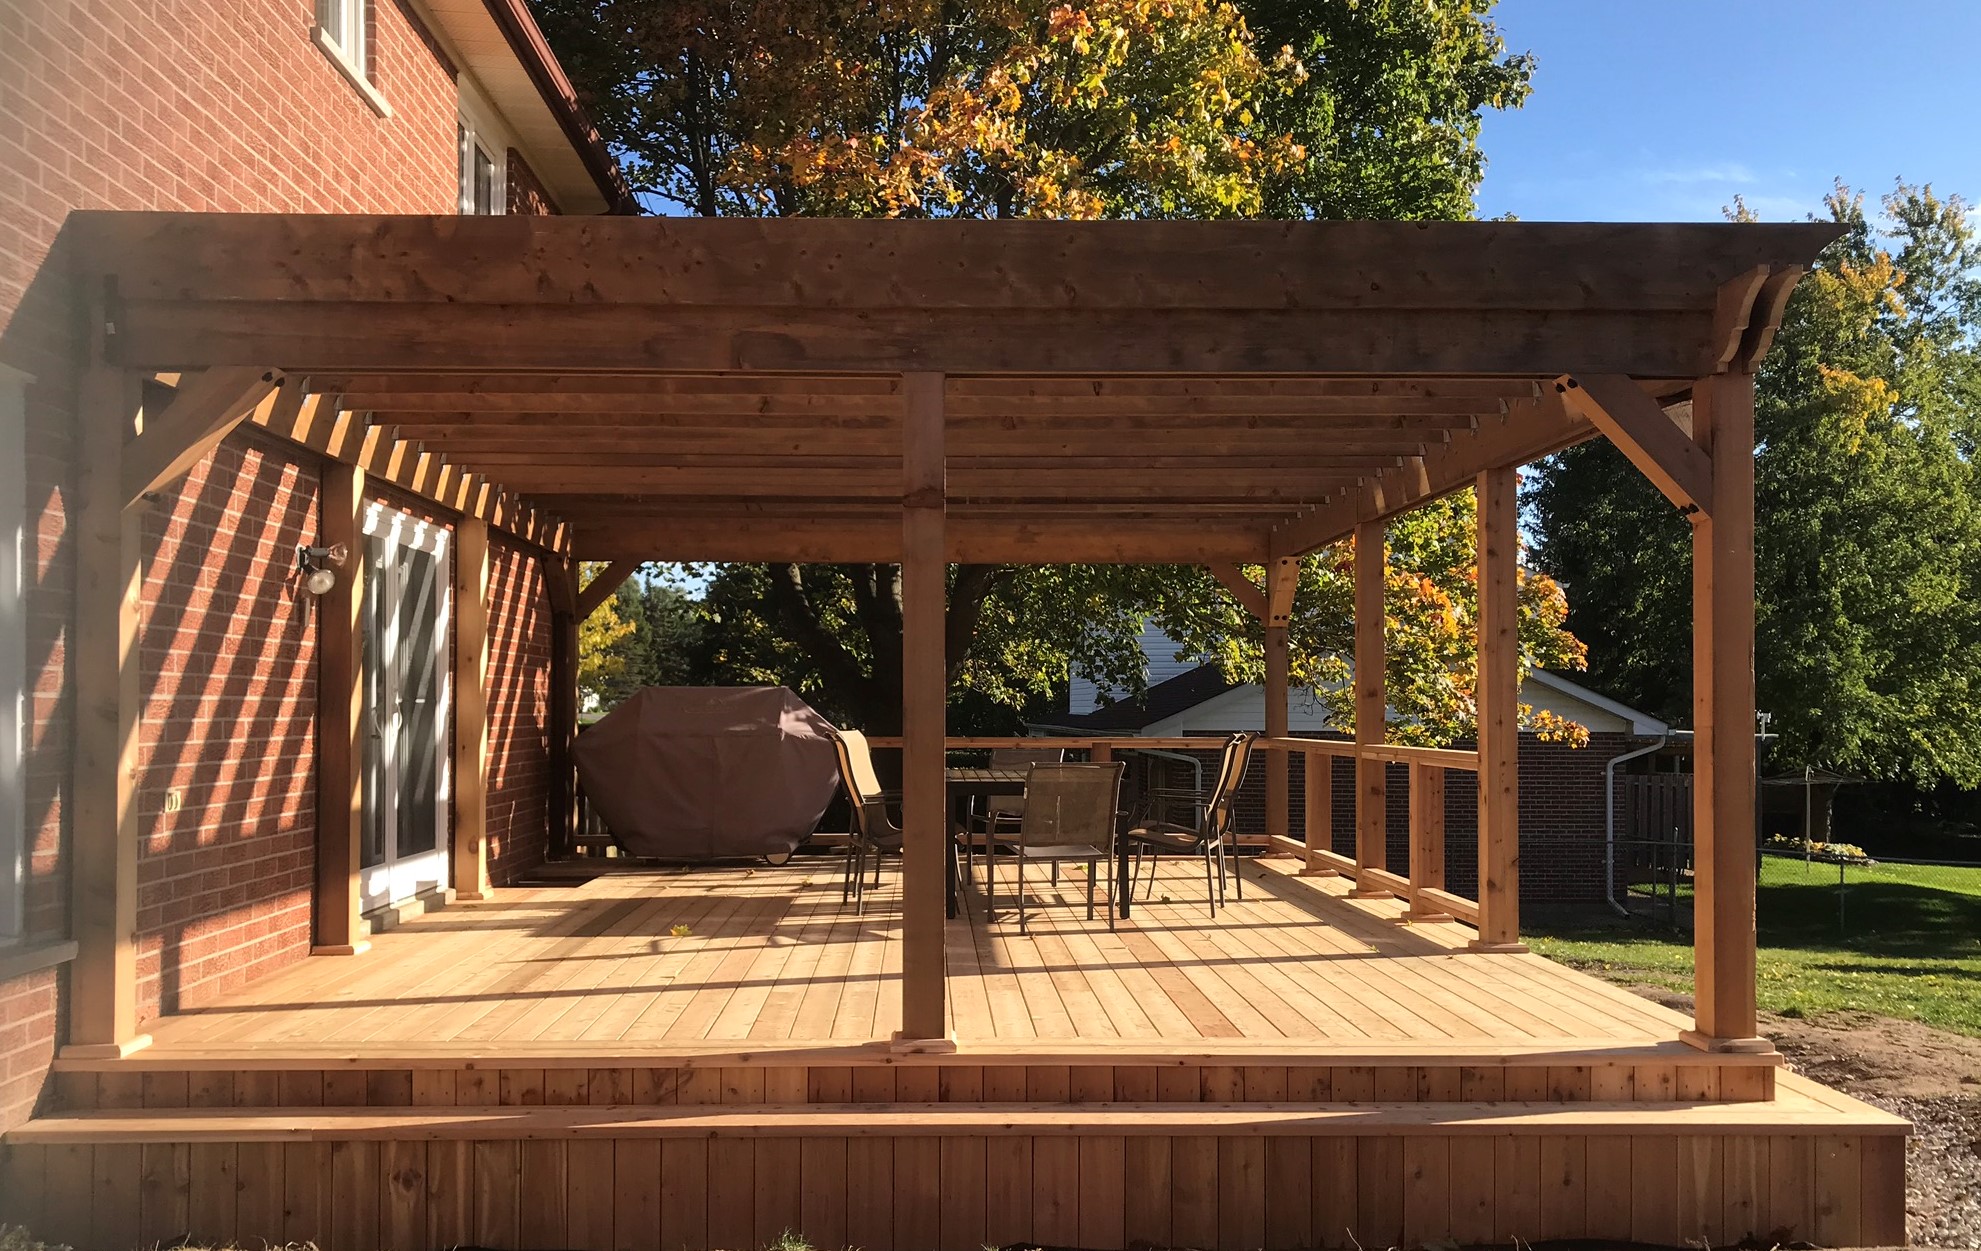
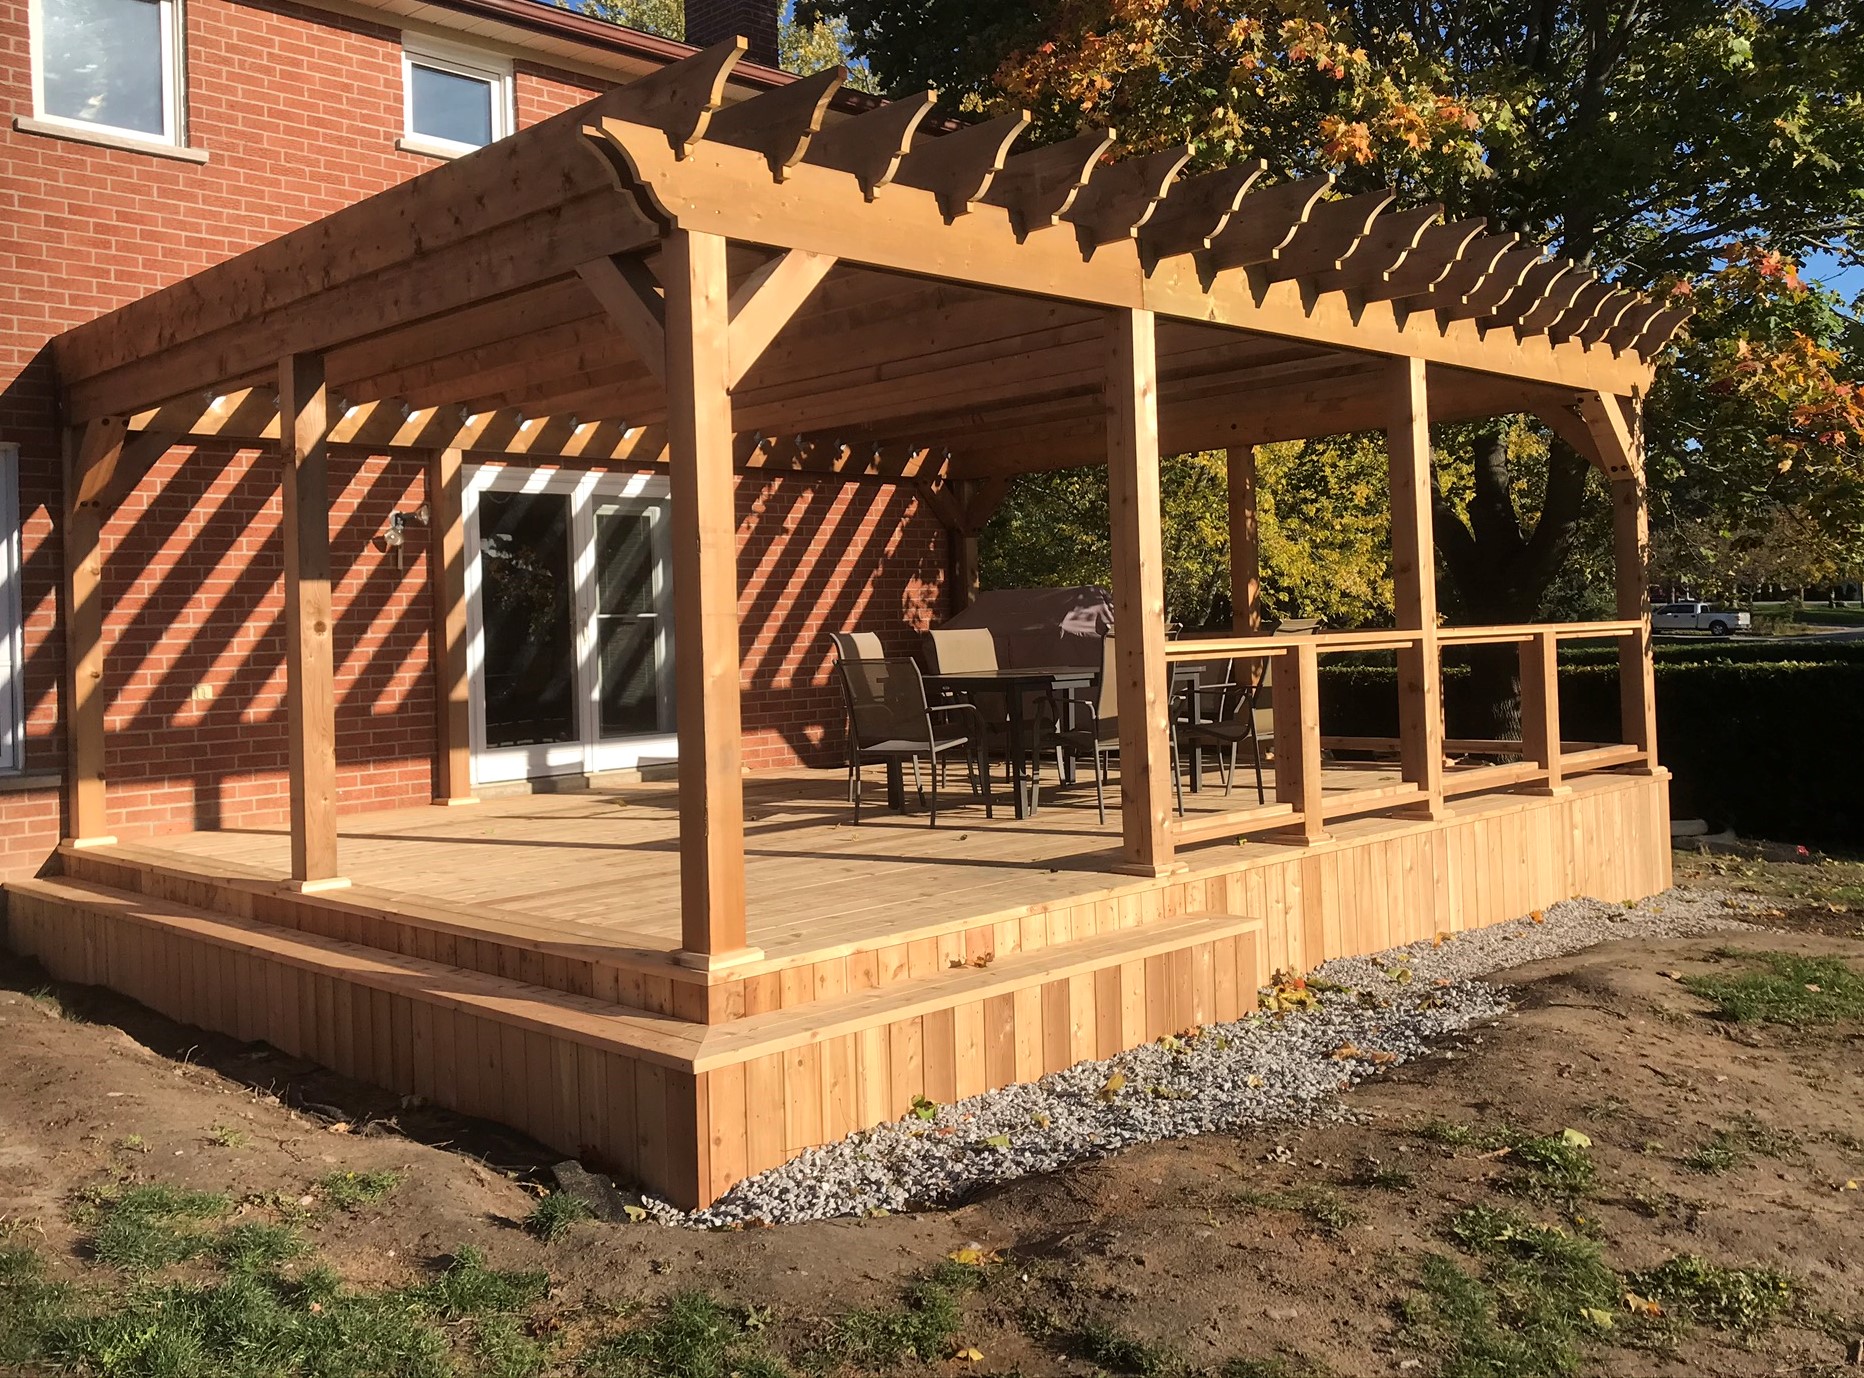
Deck with pergola
Once again, we found that great service prevails. A repeat client contacted us about a new Cedar deck project. We were happy to meet them to see what this project entailed. Drew up some plans and decked them!
Here are some of the details on this project
- Discuss with client their desired deck layout
- Have detailed drawings done and discuss the options with the homeowners
- Once the ok was given we had locates done
- Ordered all of the required materials and set a date for receiving them
- We excavated the area to achieve the desired height and the proper drainage requirements to keep water away from the house
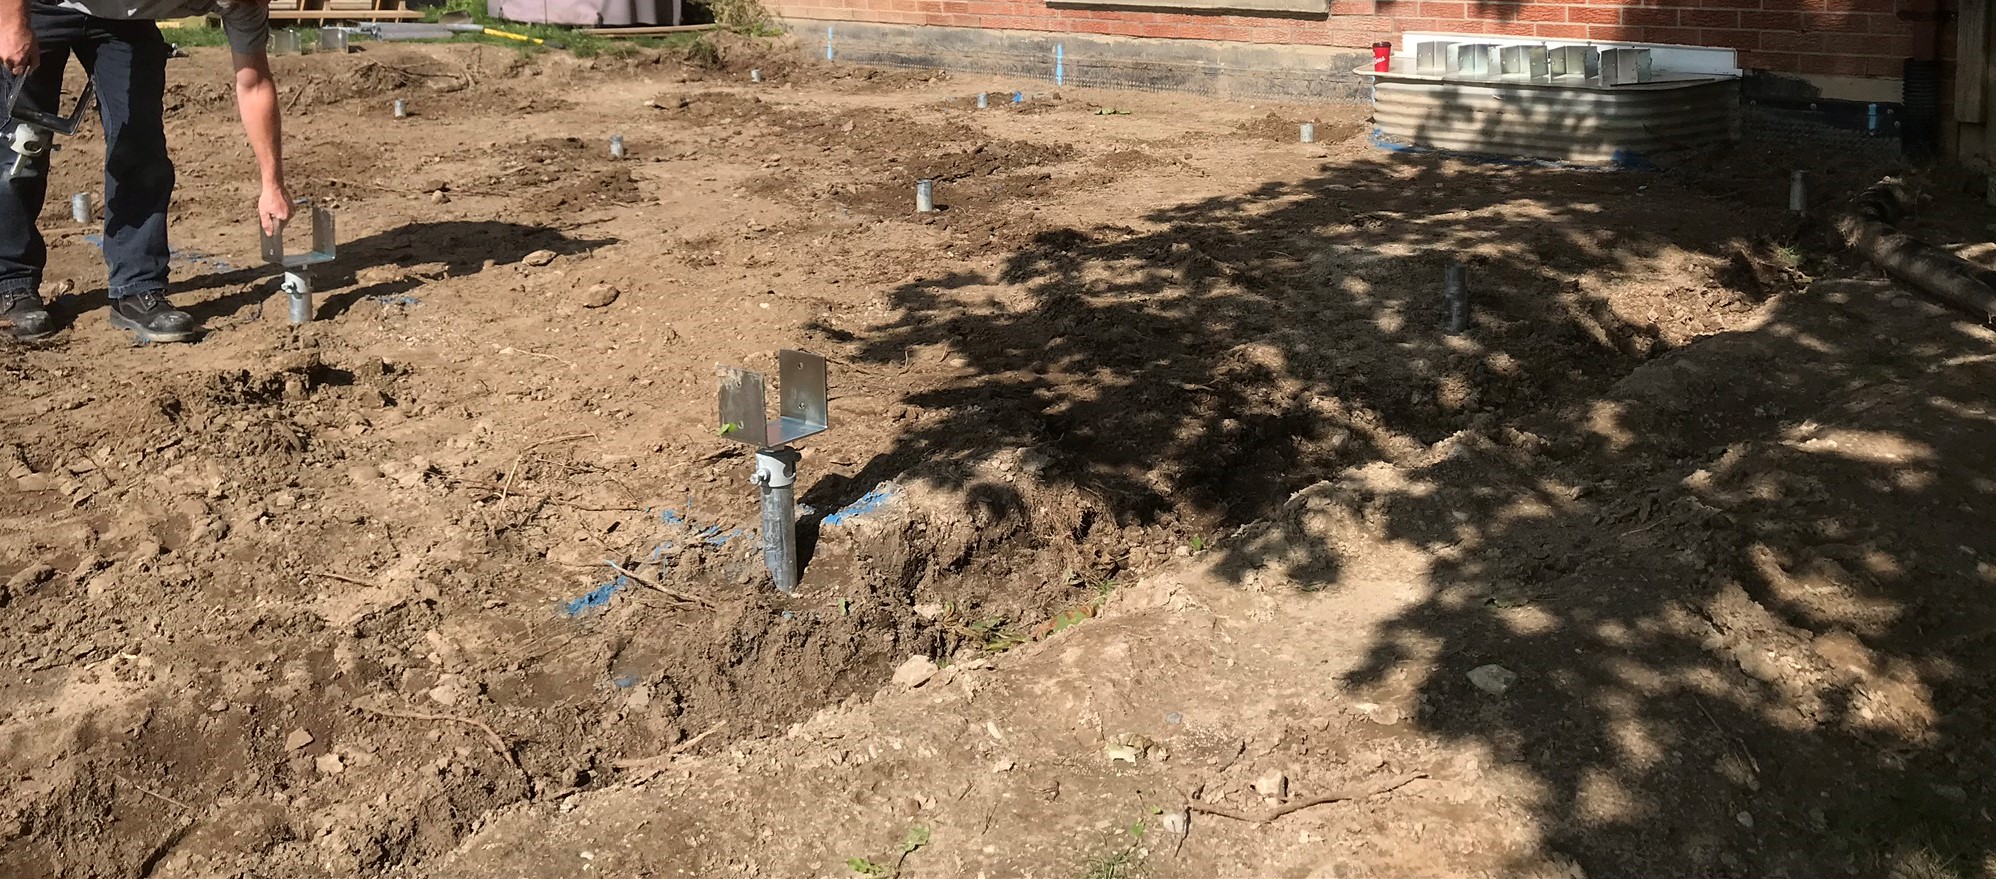
- We called in a Helical Pile installer to provide us with a stable foundation not attached to the house and had the lumber delivered that morning
- Once our 12 piles were installed (4 hours) we were able to install geotextile cloth and backfill with 3/4 clear limestone
- Assemble our beams 3 x (3 ply 2×10 glued and nailed) place them in the saddles on the piles and bolt them in
- Level the saddles so the beams are true in all direction
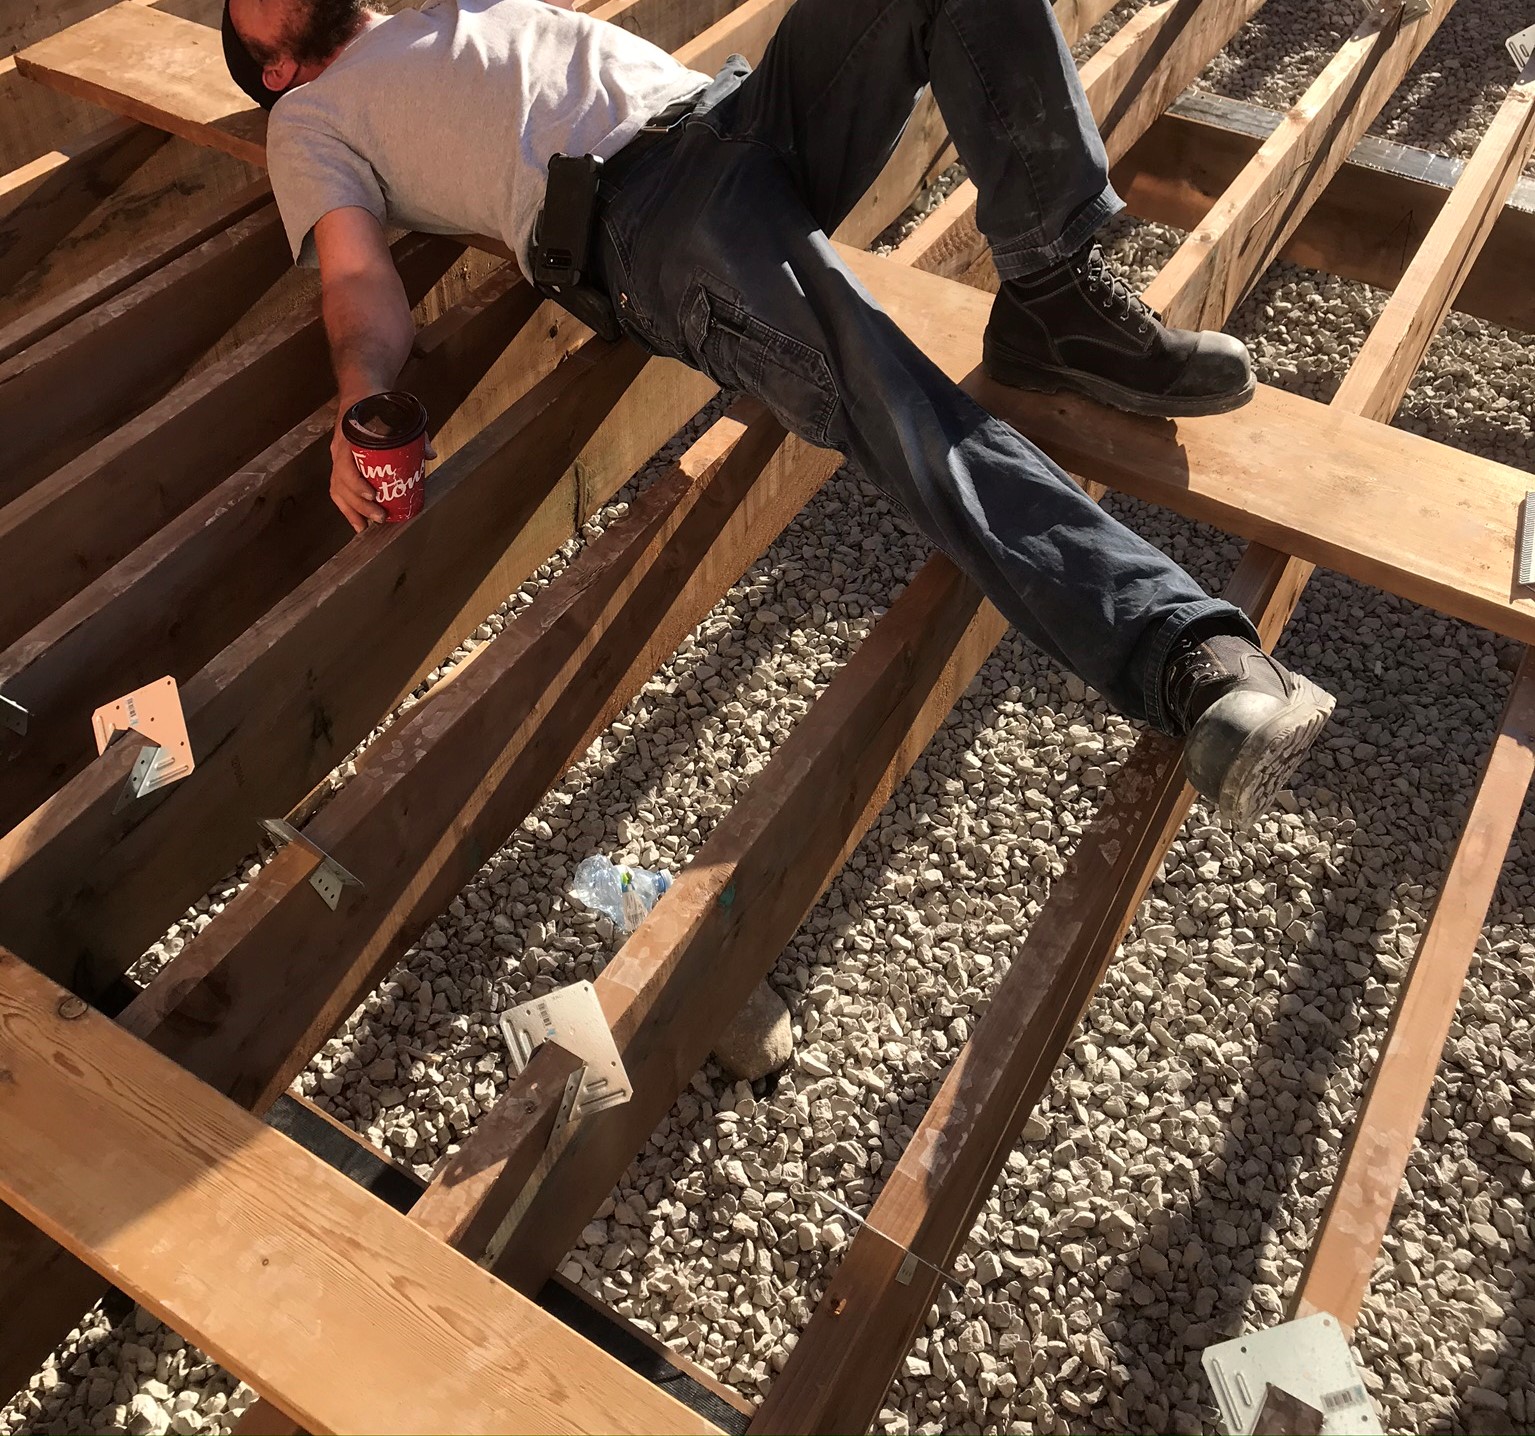
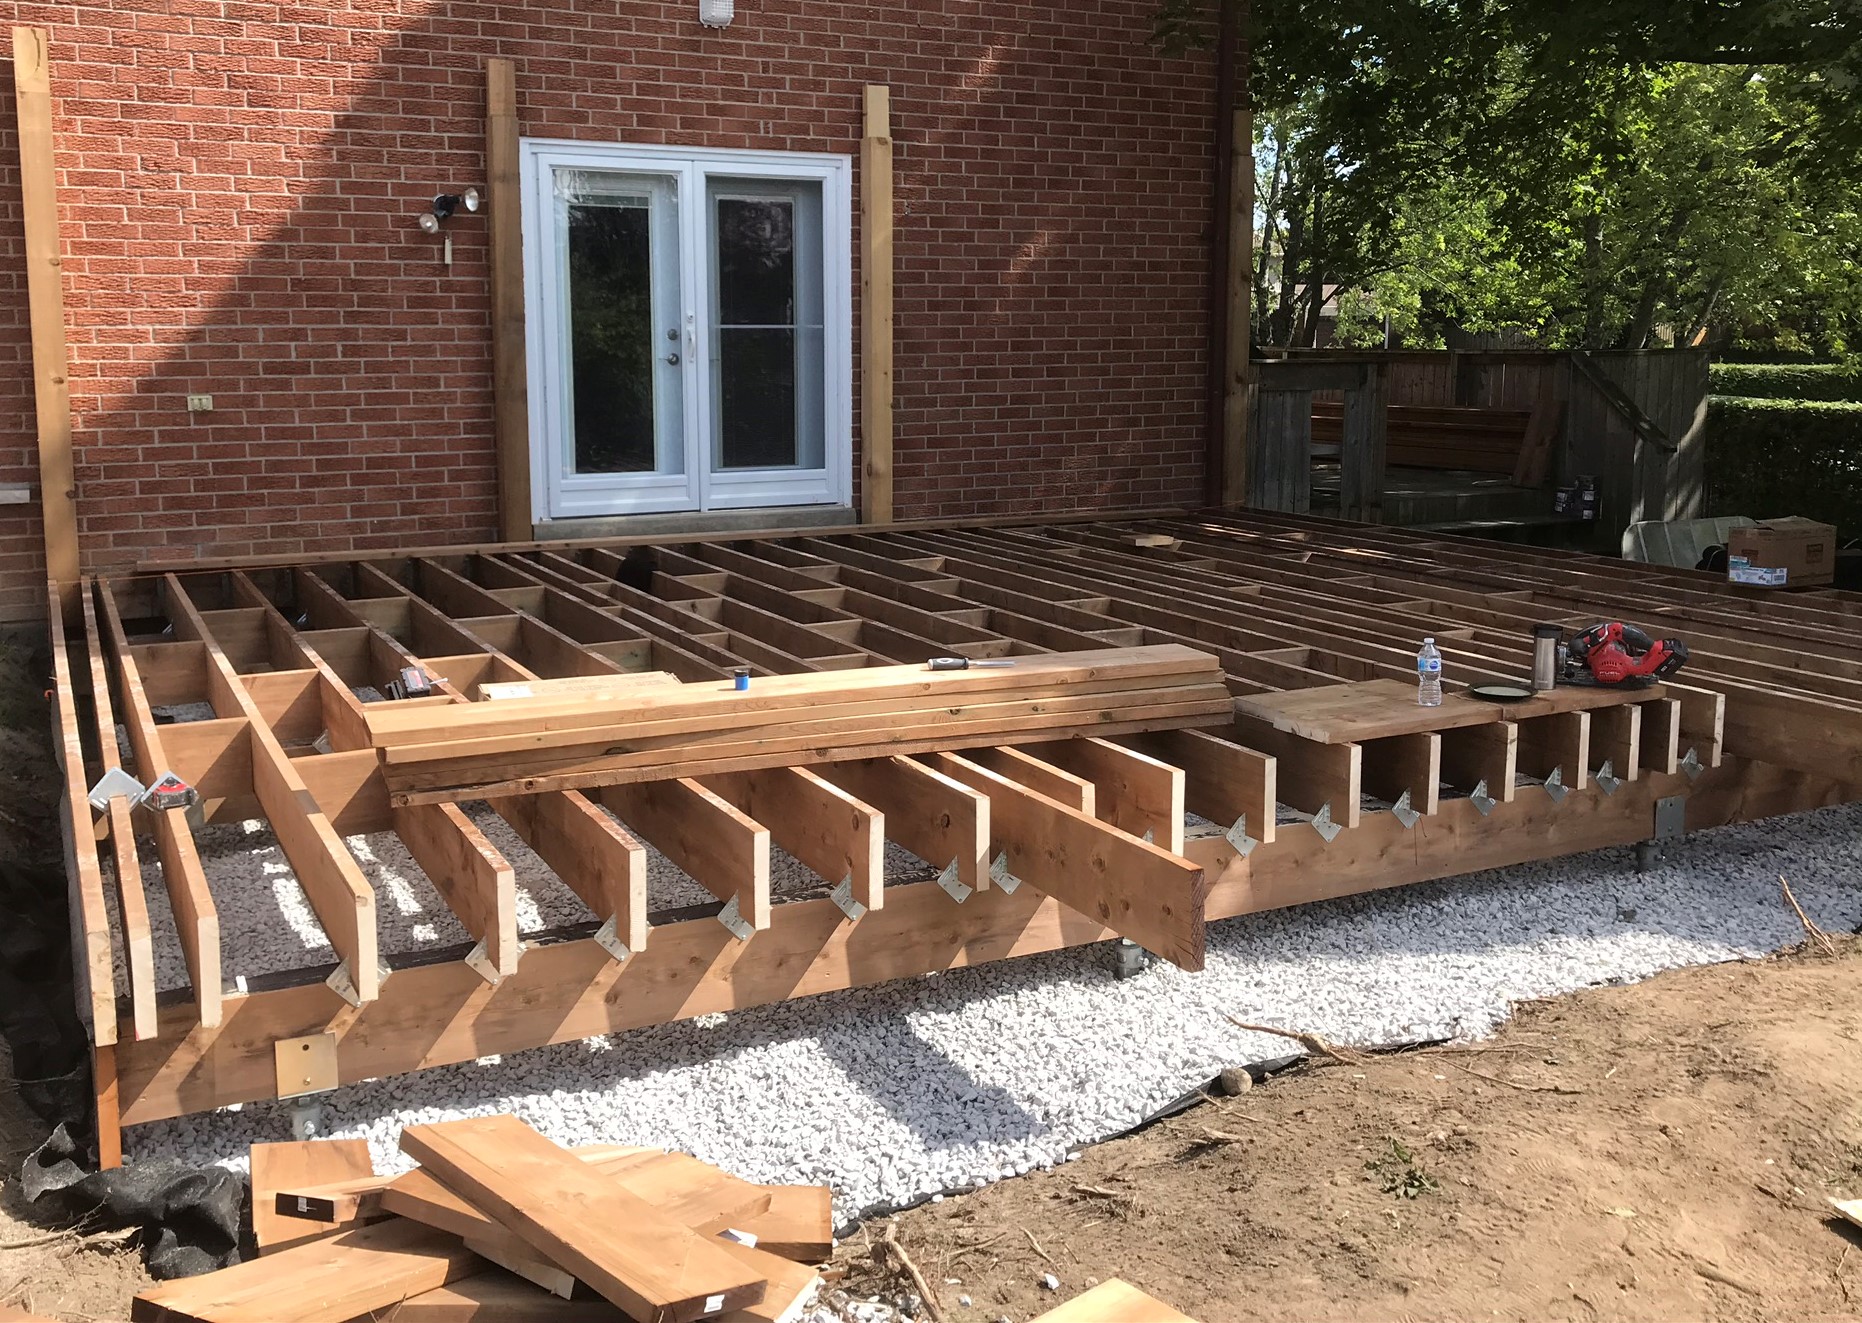
- Start installing all joists (2×10) at 16″ on centre with some custom framing for the window wells and 6×6 posts
- Attach all joists with 1 hurricane tie on each beam to prevent uplift
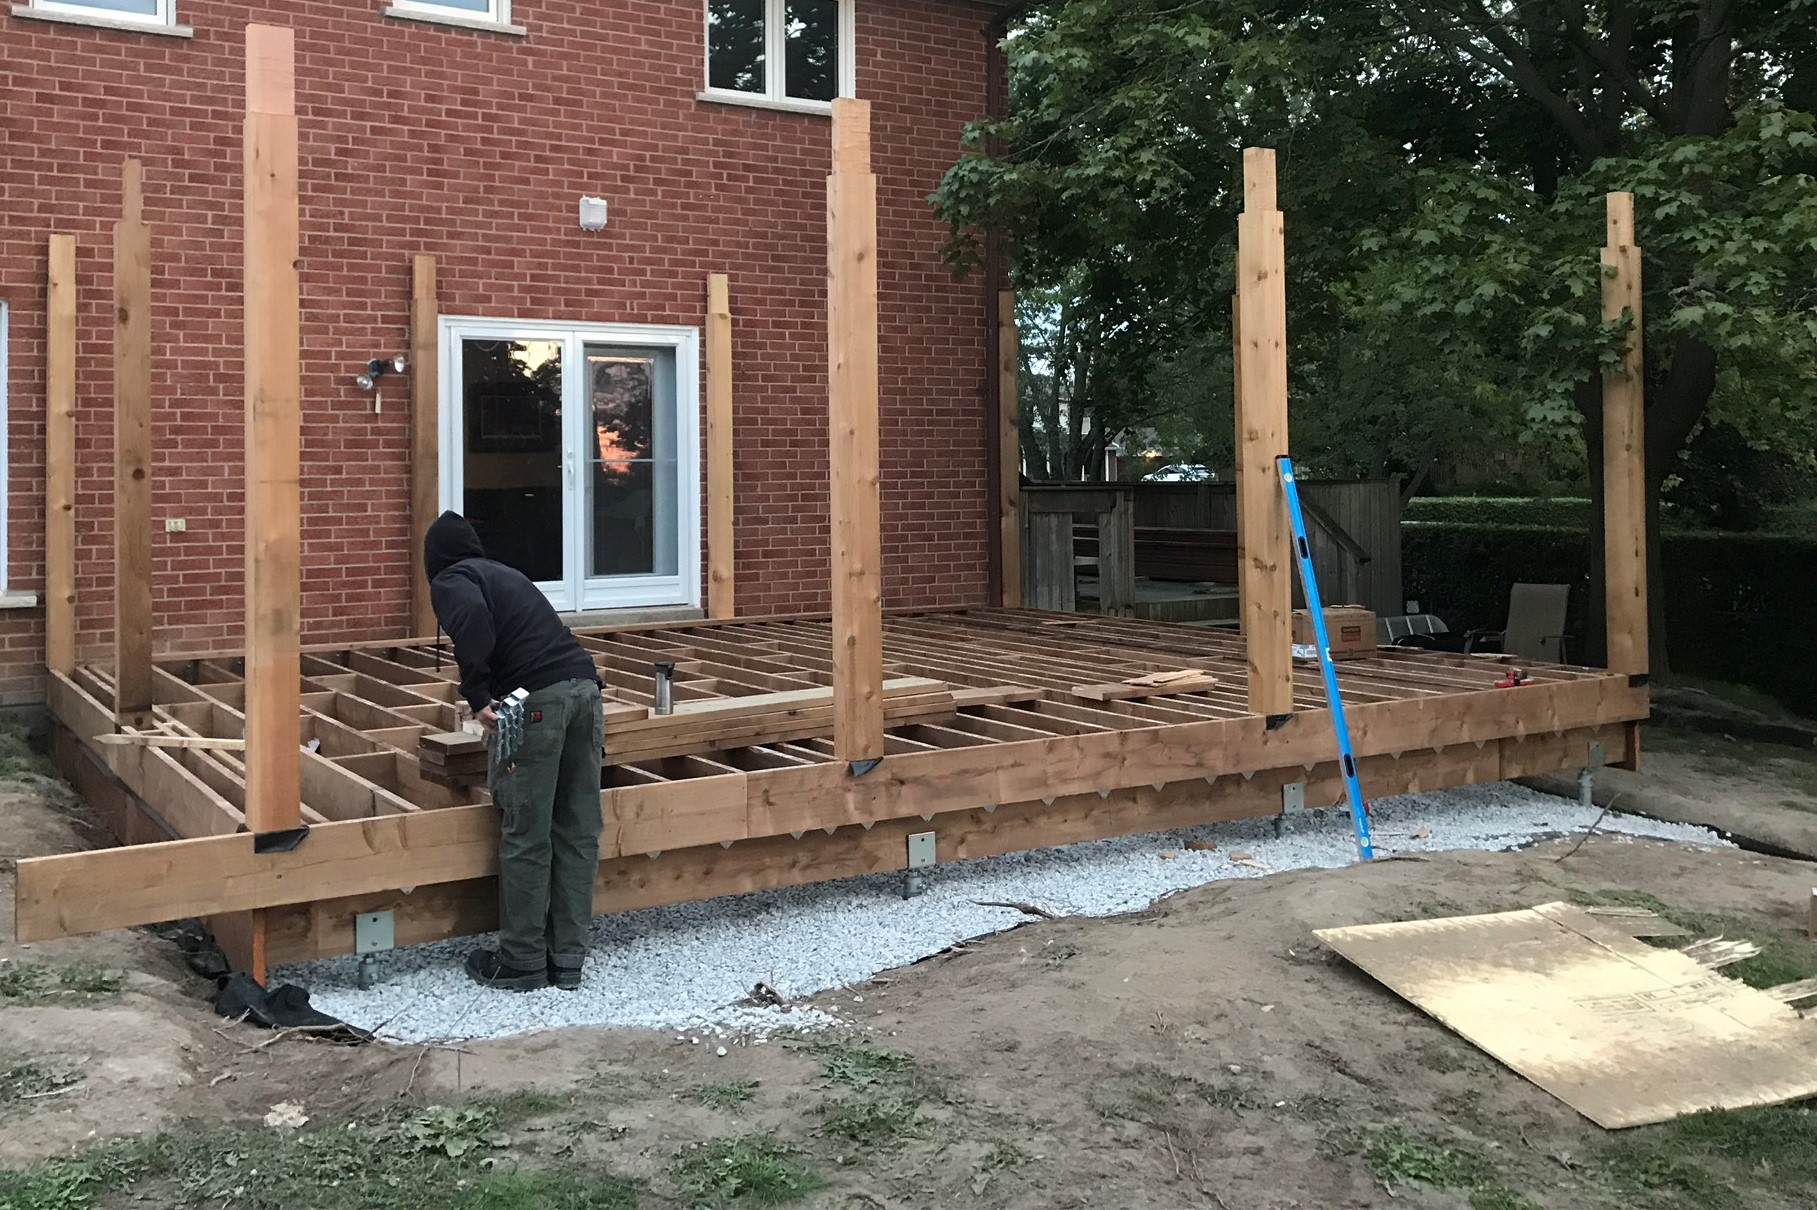
- Notch all posts to sit on joists and rim joists to help transfer loads
- Notch the top of the 6×6 posts for pergola framing to sit on posts and bolt framing to posts. This also helps with load transferring
- Consult the homeowner on design of pergola detail (ends). Once approved we made a jig to ensure they would all be identical
- We cut the pergola boards in various sizes to achieve a contour detail from each end at one siz to gradually getting bigger in the middle. 2″ increments were used
- We then nailed down all of the cedar deck boards and proceeded onto the railing
- Install the railing and manufacture spindles as per client
- Added som designs into the spindles to achieve a more custom look
- Our Gas technician came and ran a natural gas line for the barbeque at the desired location
- Our Electrical contractor will be going back in spring to add power, lights on the outer posts and a ceiling fan as per our clients wishes


Deck refacing and privacy fence
We had a client that wanted the deck boards replaced on their older deck and the privacy fence redone. We got to work removing the boards and looking at the existing structure to ensure it was still intact.
Here are some of the details on this project
- Remove existing deck boards, privacy fence and other miscellaneous items the client wanted to dispose of
- Check the condition of the existing PT wood framing and concrete piers/brackets
- Cut and plane raised joists so deck boards will run flat across not box framed anymore
- Add additional joists, posts, screw piles and bracing to stiffen up the and support the structure properly
- Remove 3′ of deck off of the pool equipment storage area and add screw piles to support the new layout
- Install the new 4×4 posts for the privacy fence
- Tape all joists with joist tape to increase their serviceability
- Install new deck boards with a picture frame border
- Install privacy fence
- Make box framed, picture frame stairs for 2 locations of the deck
- Make box framed, picture framed stairs for entry into the pool with an overhang for pool entry and a railing as per code
- Supply and install lighted post caps for the fence and the pool stairs

We strive to Provide the Best Service in Industry
Don’t wait any longer. Contact 2 Guys today.